Why Soundproofing is Non-Negotiable for Streamers
In the bustling world of online streaming, where your voice and reactions are front and center, background noise can be more than just a minor annoyance—it can be a career impediment. Whether it's the rumble of traffic outside, the chatter of family members in the next room, or even the hum of your PC, unwanted sounds disrupt your content, distract your audience, and can even lead to lost viewers. Achieving a professional-sounding stream doesn't require a Hollywood-grade studio; with the right affordable soundproofing materials for streaming room setups, you can significantly enhance your audio quality and create a more immersive experience for your audience.
Beyond the immediate impact on your stream, a quieter environment can dramatically improve your own focus and well-being. Imagine the frustration of needing to re-record segments or constantly apologize for noise interruptions. By taking proactive steps to soundproof your streaming space, you're not just improving your output; you're investing in a less stressful, more productive creative process. This guide explores practical and budget-friendly techniques, from readily available materials to quick DIY fixes, ensuring your voice is heard loud and clear.
Essential Soundproofing Materials for Streaming Room Walls & Windows
Your walls and windows are often the biggest culprits when it comes to noise infiltration. Addressing these areas effectively can yield significant improvements without requiring extensive renovations. The goal is to add mass, absorb sound waves, and seal any potential gaps.
Taming Noisy Walls
Thin walls are notorious for allowing sound to pass through. While constructing new, thicker walls isn't an "affordable quick fix," several
soundproofing materials for walls can make a real difference:
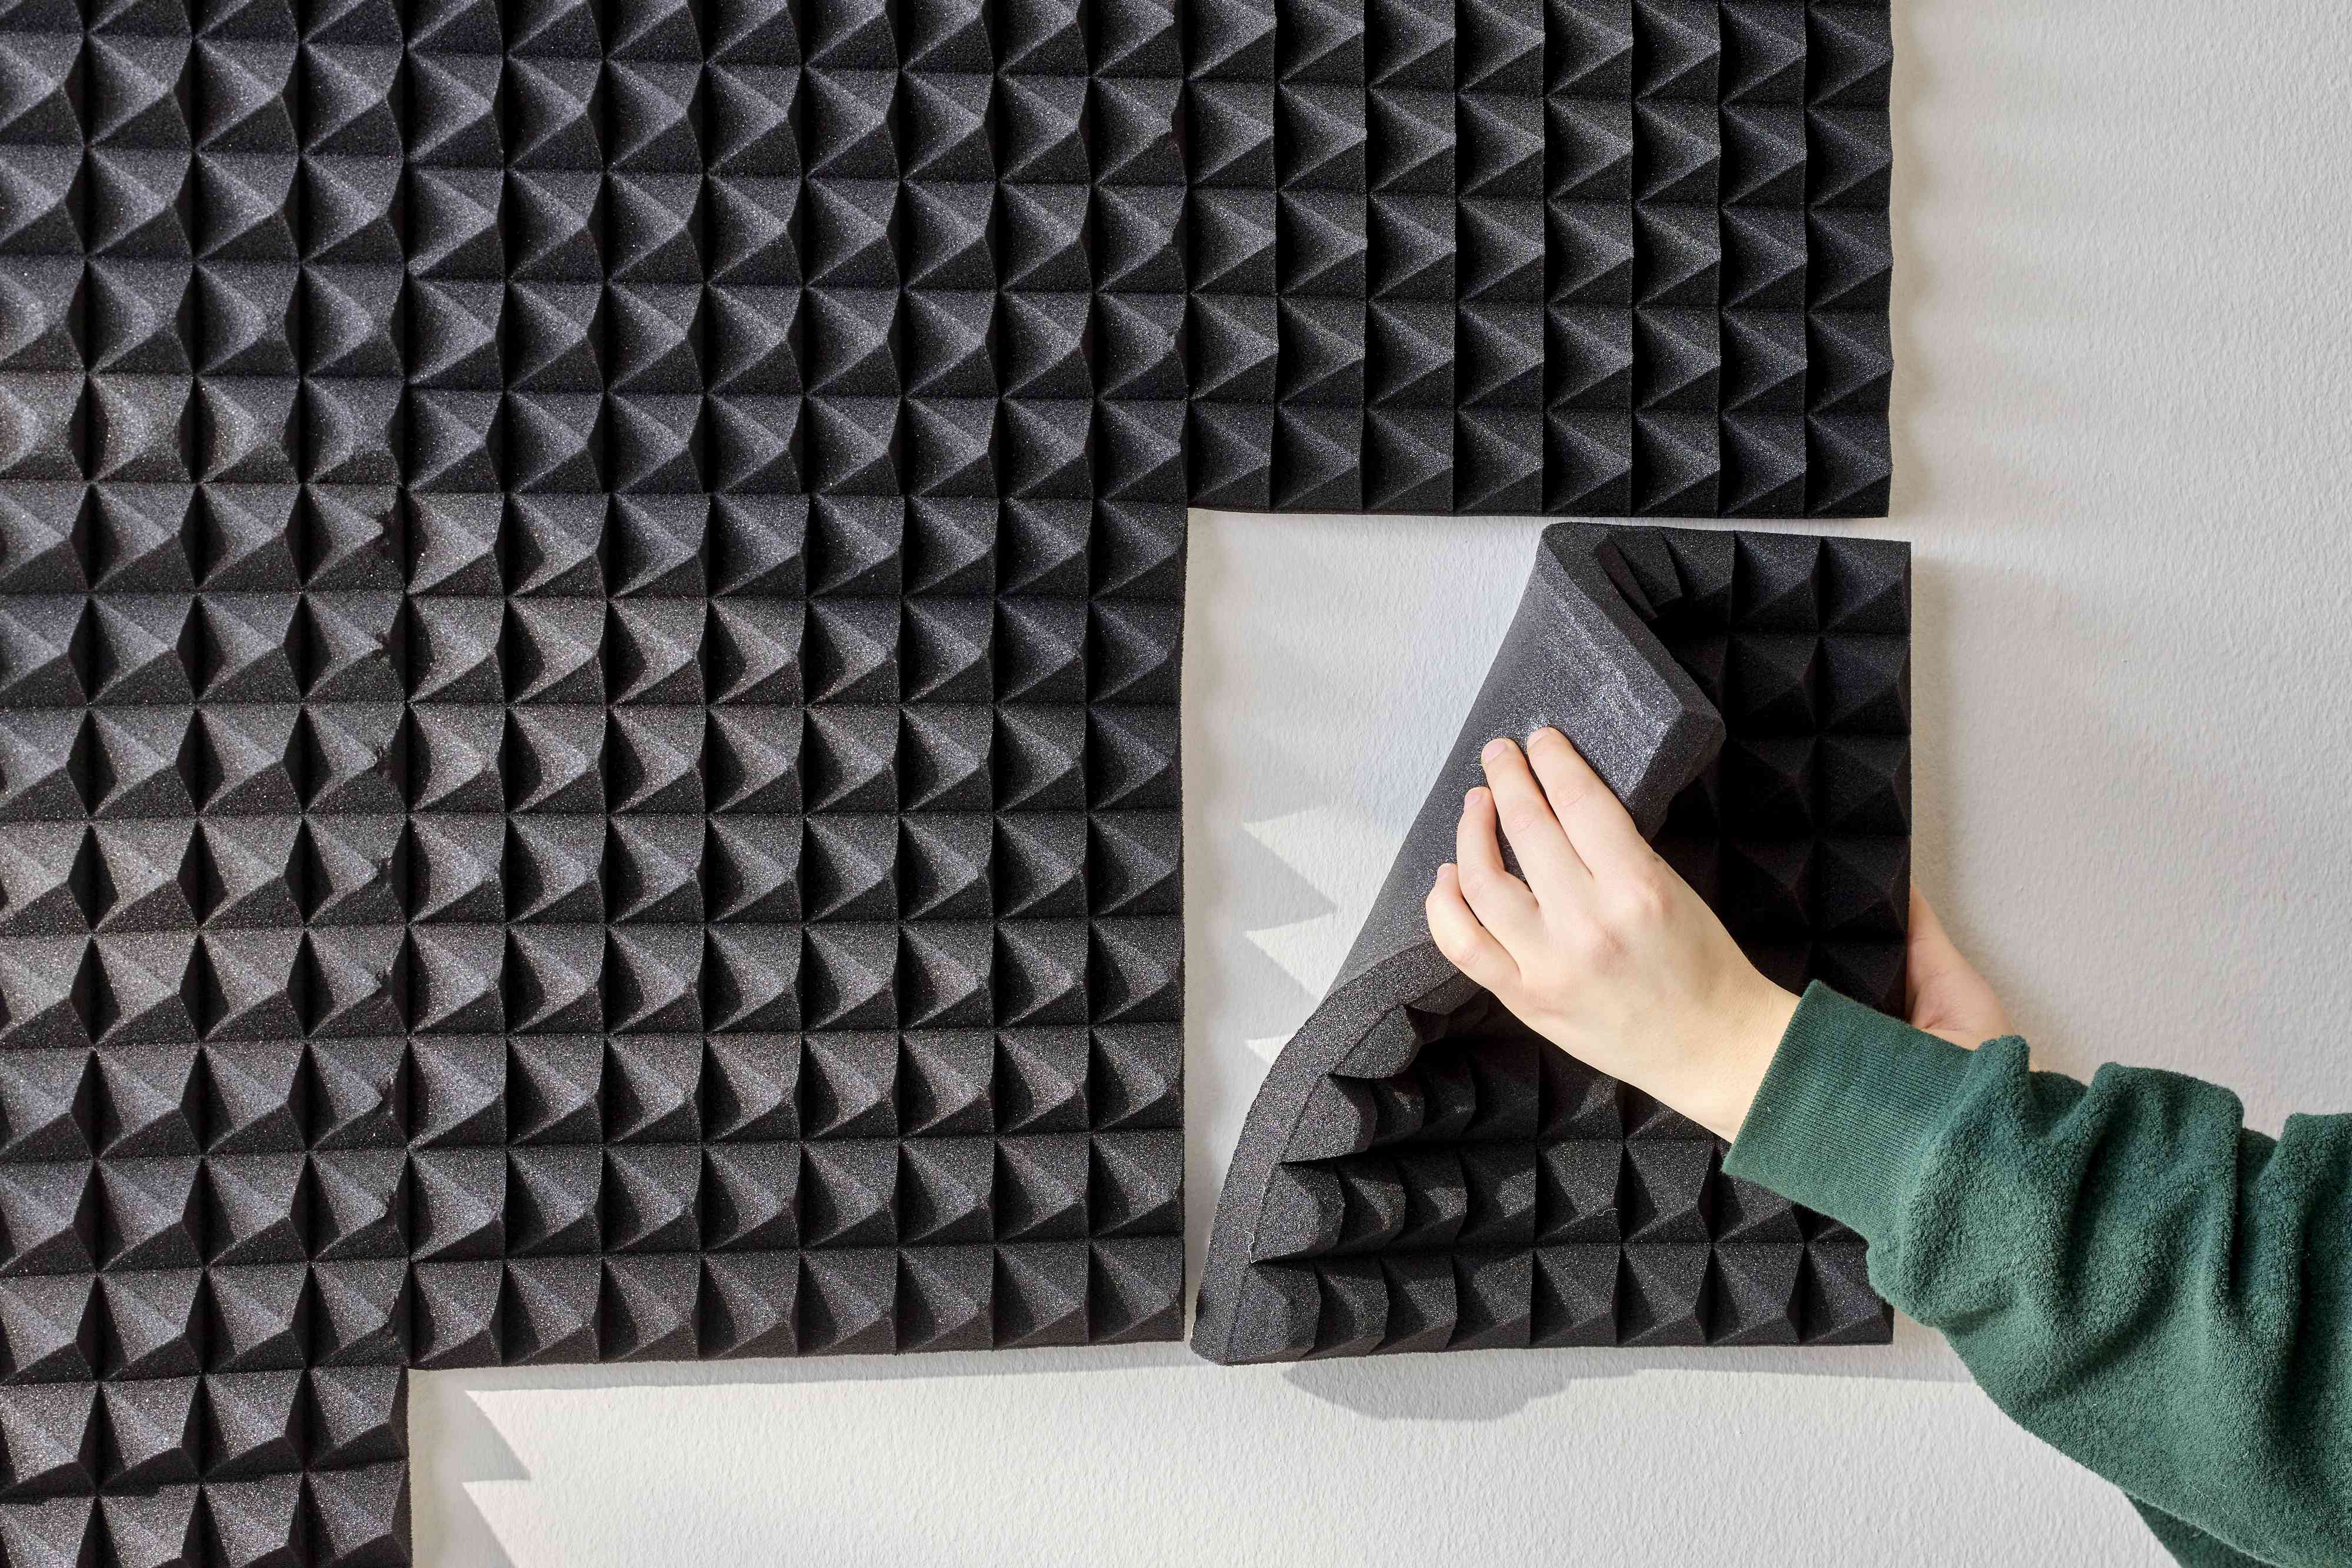
- Acoustic Panels: These are specifically designed to absorb sound waves and reduce echo and reverberation within a room. While professional-grade panels can be pricey, budget-friendly options made from foam or recycled materials are widely available. You can even DIY your own by wrapping dense insulation or rockwool in fabric. Place them strategically on walls opposite your microphone and at reflection points.
- Mass Loaded Vinyl (MLV): This dense, flexible material is excellent for blocking airborne sound due to its high mass. It can be hung like a curtain, adhered to walls, or even placed under existing drywall for a more permanent solution. For an affordable quick fix, consider hanging MLV sheets behind tapestries or curtains.
- Thick Blankets and Moving Pads: Don't underestimate the power of dense textiles. Heavy moving blankets, specialized sound-absorbing blankets, or even thick quilts can be hung on walls, especially behind your streaming setup, to absorb some sound and reduce echo. This is an incredibly cost-effective and immediate solution.
- Bookshelves: A fully stocked bookshelf against a shared wall acts as excellent sound dampening. The varied shapes and sizes of books disrupt sound waves, and the sheer mass adds to the wall's insulation.
Insulating Your Windows
Windows are often the weakest link in a room's sound insulation, especially single-pane versions. While double-pane windows offer superior sound blocking, they're a significant investment. Here are more accessible options:
- Thick Curtains or Drapes: Invest in heavy, floor-to-ceiling blackout curtains made from dense, sound-absorbing fabric. Layering multiple curtains or using thermal-backed drapes can further enhance their sound-blocking capabilities. The key is thickness and mass, which help to absorb and deflect sound waves.
- Window Inserts: These custom-fit acrylic or glass panels create an additional air gap between your existing window and the insert, mimicking the effect of double-glazing at a fraction of the cost. They are surprisingly effective at blocking external noise.
- Weatherstripping and Caulk: Even tiny gaps around your window frames can let in a surprising amount of noise. Use weatherstripping tape around the edges of the window sash and seal any cracks in the frame with acoustic caulk. This is a very cheap but impactful fix.
Tackling Doors & Gaps: Quick Fixes for Immediate Impact
Just like windows, doors are common weak points in a room's sound integrity. Even the most robust wall soundproofing can be undone by a poorly sealed or thin door.
Reinforcing Your Door
The type of door you have makes a huge difference:
- Solid-Core Doors: If you currently have hollow-core doors (which are very light and transmit sound easily), upgrading to a solid-core door is one of the most effective soundproofing measures. Solid doors have significantly more mass, inherently blocking more sound. While not a "quick fix," it's a worthwhile investment if your budget allows.
- Door Sweeps: A common culprit for noise leakage is the gap beneath your door. Install a door sweep or an automatic bottom seal to block sound from traveling underneath.
- Weatherstripping: Apply adhesive weatherstripping around the perimeter of your door frame. This creates a tight seal when the door is closed, preventing sound from leaking through the sides and top.
- Soundproof Blankets for Doors: Similar to wall blankets, heavy soundproof blankets can be hung over your door, especially during streaming sessions, to add an extra layer of mass and absorption. They often come with grommets for easy hanging.
Remember, even small gaps around a door can let in a surprising amount of noise. Sealing these gaps is a foundational step in effective soundproofing.
Floor & Ceiling Solutions: Absorbing Noise from All Angles
Don't forget the surfaces above and below you when considering
expert-backed soundproofing to reduce noise for your streaming room. Floors and ceilings play a crucial role in managing both internal room acoustics and external noise transfer.
Quiet Underfoot: Floor Soundproofing
Floors are key for absorbing internal echo and preventing noise from traveling to or from rooms below.
- Thick Carpets and Rugs: "Soft, thick rugs" are incredibly effective at absorbing sound waves and reducing reverberation, especially on hard surfaces like wood or tile. The thicker the pile, the better. Layering rugs can further enhance this effect. For streaming, this not only helps with external noise but also improves your room's acoustic quality, making your voice sound clearer.
- Underlayment: If you have hard flooring, adding a dense, sound-absorbing underlayment beneath your carpet or rug can provide an extra layer of insulation against impact noise from above and airborne noise from below.
Ceiling Considerations
While extensive ceiling soundproofing can be a larger project, there are a few considerations:
- Acoustic Ceiling Panels: If noise from an upstairs neighbor or apartment is an issue, specially designed acoustic ceiling panels can be installed. These are typically more involved than other quick fixes but can be highly effective.
- Bass Traps: While primarily for acoustic treatment (improving sound quality), bass traps placed in room corners (where walls and ceiling meet) can also help absorb low-frequency sounds that might otherwise escape or enter.
Beyond Materials: Strategic Setup & Mindset for Streamers
While soundproofing materials are fundamental, your approach to setup and even your microphone choice can significantly impact your audio quality.
- Microphone Placement: No amount of soundproofing can fix a poorly placed microphone. Position your microphone close to your mouth (usually 4-6 inches away) and use a cardioid pattern if available, which primarily picks up sound from the front, rejecting much of the side and rear noise.
- Gain Settings: Keep your microphone gain as low as possible while still achieving a good signal. High gain amplifies everything, including background noise.
- Software Noise Reduction: Utilize software solutions like NVIDIA Broadcast, OBS noise suppression filters (RNNoise, Speex), or AI-powered noise removal tools. These can work wonders for eliminating subtle hums and static, but they aren't a substitute for physical soundproofing against louder noises.
- Room Layout: Arrange your streaming space with sound in mind. Avoid placing your setup directly against a noisy wall or window. Use furniture, especially soft furnishings, to break up sound waves and absorb echo.
- Communication: If noise comes from within your household, communicate your streaming schedule and need for quiet with family or roommates. A simple "do not disturb" sign can go a long way.
Conclusion
Achieving a professional-sounding stream doesn't have to break the bank or involve major construction. By strategically implementing affordable soundproofing materials for streaming room enhancements—from reinforcing doors and windows with weatherstripping and heavy curtains, to covering walls with acoustic panels or thick blankets, and adding plush rugs to your floor—you can significantly reduce unwanted noise. These quick fixes and smart material choices create a quieter, more focused environment, allowing your content to shine and your audience to enjoy a crystal-clear audio experience. Start small, identify your biggest noise culprits, and watch as your streaming quality dramatically improves.